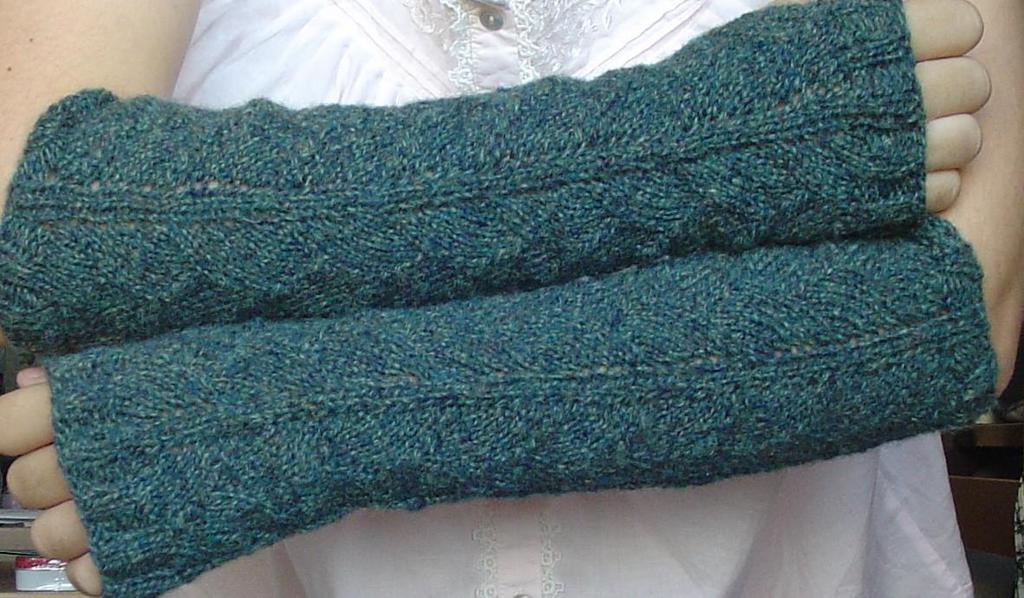
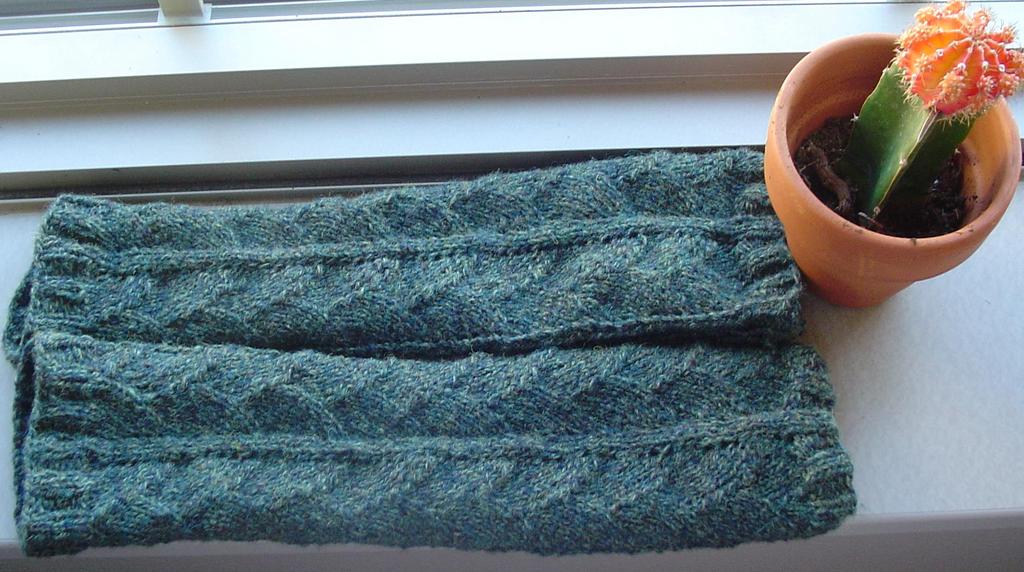
Dragon Scale Gauntlet Pattern
Here is the pattern:
(12/07/2005--a few small errors have been corrected)
Dragon Scale Gauntlets
Inspired by: Wyvern Sock Pattern by Marnie MacLean
Yarn: 100 grams DK weight yarn
Needles: US 6/ 4mm needles or size needed to obtain
gauge.
Gauge: 24 sts in ribbing = 4” or 10cm
32 rows = 4” or 10 cm
1 chart repeat = 1.5 inches or 3.8 cm
Finished Measurements:
About a women’s Medium gauntlets
9” circumference at base (gauntlet edge sits by elbow)
8” circumference at top (gauntlet edge on hand)
Length: 13 inches
Techniques Required: Long tail cast on, ssk, k2tog, p2tog [Optional: pfb]
Left Gauntlet:
• Using long-tail cast-on method, CO 48, divided as follows
Needle 1 = 13 stitches
Needle 2 = 13 stitches
Needle 3 = 11 stitches
Needle 4 = 11 stitches

• Join for working in the round, being careful not to twist
• Place marker to indicate beginning of round, and work in k2p2 ribbing for 7 rounds, or 1 inch
• Row 1 and all odd-numbered rows:
Needles 1 & 2: stockinette stitch
Needles 3 & 4: p2k2 ribbing
• Row 2 and all even-numbered rows:
Needles 1 & 2: Work chart
Needles 3 & 4: p2k2 ribbing
• Work 3 pattern repeats
• On repeat #4 knit row 1, ending 2 sts before beginning of round, p2tog
• Work row 2 of chart, p2tog (2 sts decreased total)
• Continue chart, finishing row 7 two sts before beginning of row, k2tog
• Work row 8 of chart, k2tog (2 sts decreased)
At this time, the ribbing across the back two needles will be k2p2. Continue in this way until indicated.
 • Knit 5th repeat of chart as usual
• On 6th repeat, knit row 1, ending 2 sts before beginning of round, k2tog
• Work row 2 of chart, k2 tog (2 sts decreased)
• Continue pattern, finishing row 7 two sts before beginning of row, p2tog
• Work row 8 of chart, p2tog
At this time, 6 chart repeats should be completed. Work 1 more chart repeat.
• After row 12, do not knit stockinette across the chart in the round (as for row 1 of the chart). Rather, turn the knitting around and knit back across the ribbing (working in pattern, of course) and then purl across needles 1 and 2 where the chart section is. Turn the needles around, and continue on row 2, etc., until you’ve finished row 12.
o This back-and-forth method allows for a spacious thumb hole, without having to add a buttonhole.
• Once row 12 is completed, once again join in the round. From here, there are two options:
A. Work 6 rows of chart, then begin k2p2 ribbing for 7 rounds or 1 inch.
B. Immediately work in k2p2 ribbing for 7 rounds, or 1 inch
This option allows you to vary the length of coverage on your hands. For example, I don’t like the gauntlet to extend past my knuckles. Others may prefer a longer gauntlet to extend coverage over more of the fingers. Knitter’s choice, really.
• Once desired length has been reached, bind off loosely in pattern.
Right Gauntlet:
• Work the same as for left gauntlet until 7th chart repeat is complete. For this, finish working
 the chart’s row 12, but do not continue in ribbing. Turn work around, purling back across chart stitches, and then continue across ribbing, ending before the chart pattern. Turn the work around and repeat, knitting across row 2, etc.
This places the thumb hole on the other side of the chart, making it so the dragon scale pattern is on top.
• Once row 12 is completed, join once again for working in the round, and continue as for left gauntlet.
Finishing:
Weave in all ends. Block lightly
Guidelines for Altering Pattern:
This pattern is very versatile. It can be adapted to quite a few any lengths or widths, and provides a snug, warm, lovely way to keep your arms toasty.
If you want shorter gauntlets, simply complete fewer chart repeats before the decreases and vice versa for longer ones.
If you want the gauntlets to have wrist shaping, but find decreasing 8 stitches makes it too snug on your hand, for the second set of decreases, you might want to purl in the front and back of loop [pfb] one stitch before the beginning of the round, and on the first stitch following the chart. This allows for wrist shaping, while still allowing dexterity. You would then do the same thing after row 7, thus increasing 2 more stitches (4 total).
The number of stitches in the ribbing may also be altered to achieve a wider or narrower fit. Just be sure the total number of stitches is divisible by 4.
Many many many many thanks to Marnie MacLean for creating such a great pattern as a springboard for a practical, comfortable design. Many many many many more thanks to her for allowing me to adapt her pattern.
Please let me know if you find any errata, or if any of the instructions are obscure. Happy Knitting!
Edit: Whoops! It seems I forgot to put the chart in this pattern! And note, I uploaded the image here, so I don't steal Marnie's Bandwidth. Do
posted by Annemarie @ 10:17 AM
![]()
![]()


<< Home